To order this product you must be logged into your distributor account. Not yet a M+A distributor, but interested in becoming one? Fill out this form.
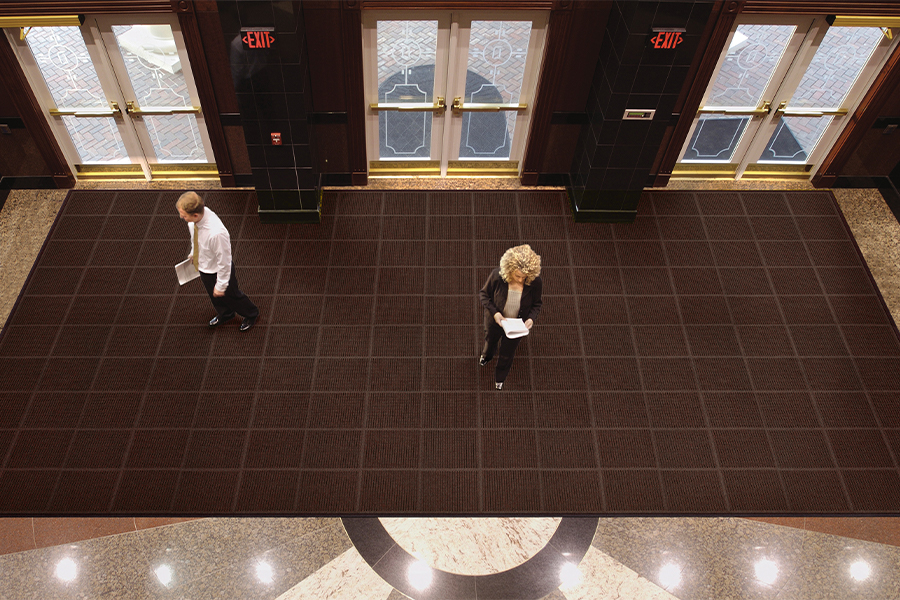
WaterHog® Modular Tiles
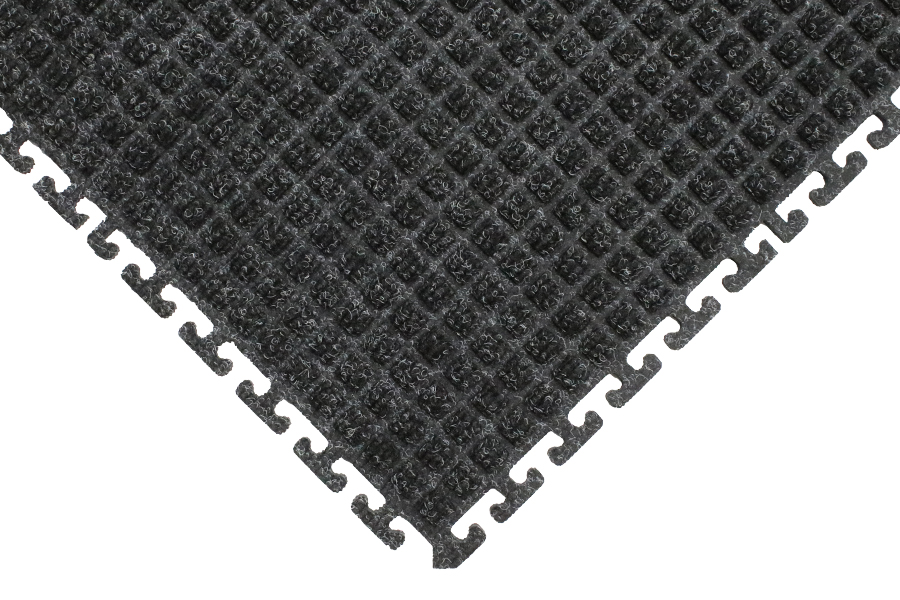
- Clean & Dry - Bi-level surface effectively scrapes dirt and moisture from shoes, trapping it beneath shoe level to prevent tracking
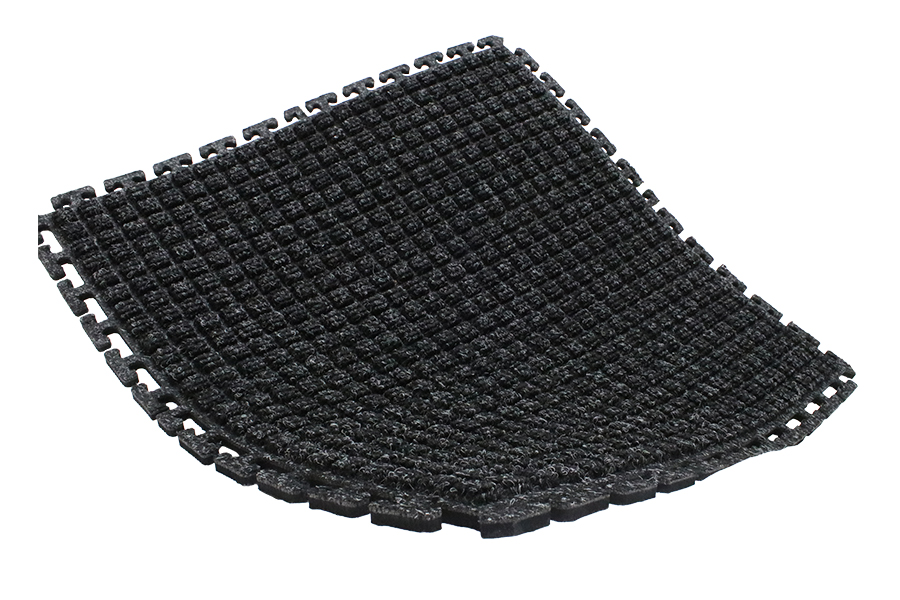
- Durable - Reinforced rubber nubs prevent pile from crushing and extend the performance life of the mat
- Fade & Stain-Resistant - Solution-dyed fabric (24 ounces/yard2) is resistant to staining, dries quickly, and will not fade or rot
- Easy to Install - Tiles link together easily and are designed to be installed without glue or the need for professional installers
- Eco-Friendly - PET fabric is made from at least 90% recycled content reclaimed from plastic
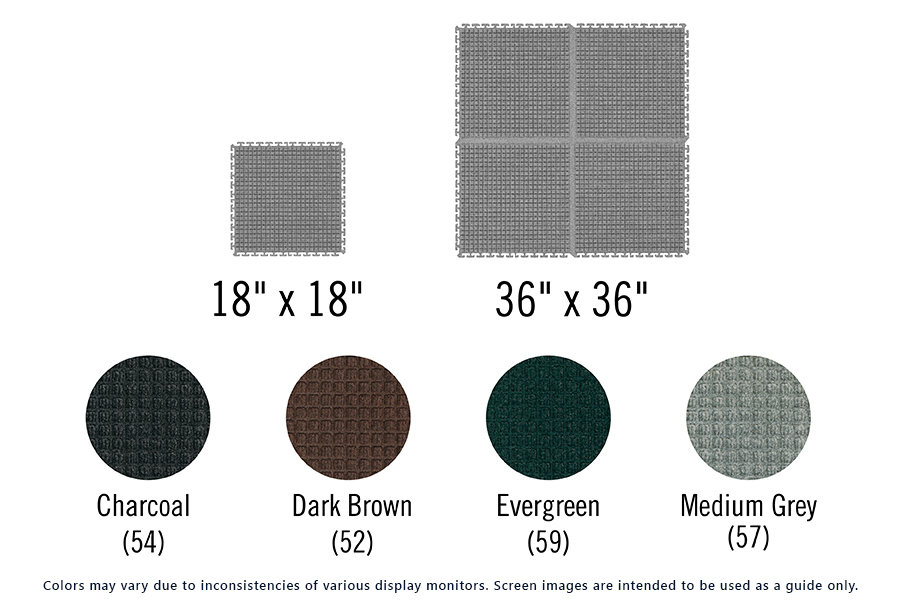
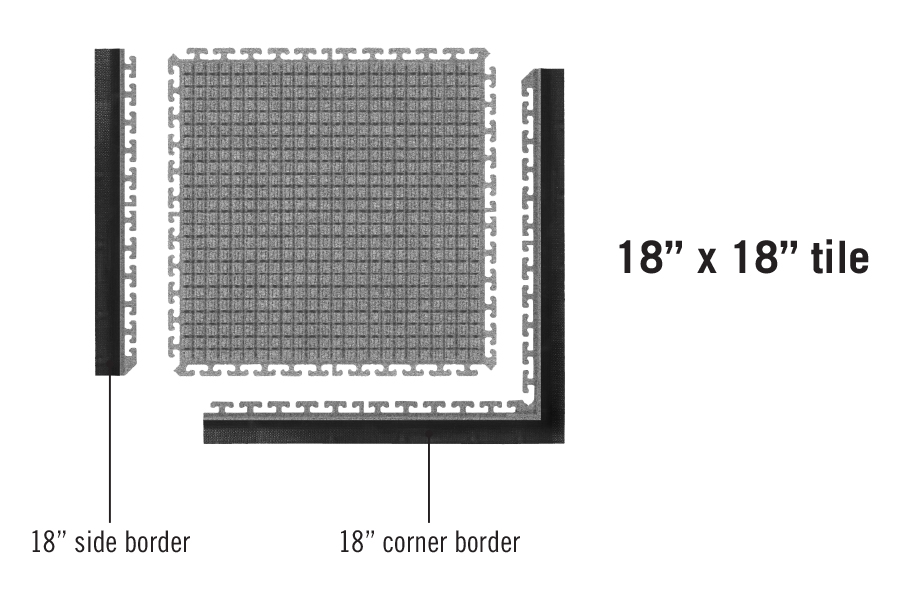
- Tiles are 7/16" thick and available in 18" or 36" tiles with 4 color options
- Feature 200-mil SBR cleated rubber backing
- Rubber borders (sold separately) securely link to the outer perimeter of the installation


18" x 18" x 7/16" (10 tiles/case)
36" x 36" x 7/16" (4 tiles/case)
SURFACE
Material: Solution-dyed PET (polyethylene terephthalate) 3% latex
Weight: 24 ounces/yard2
Construction: Needle-punched
Design: Squares pattern
BACKING
Material: SBR rubber - universal cleated
Thickness: 200-mil
Overall Tile Thickness: 7/16 inch (0.4375")
STANDARDS & TESTING
- Passes DOC-FF1-70 for the surface flammability of carpets
WaterHog Modular Tile mats can be cleaned using the following instructions:
- Vacuum regularly (daily in high-traffic commercial areas; weekly in lower-traffic areas)
- Extract or hose off as needed to remove heavy soil/debris
- Hang mat to dry
Always make sure the mat is dry before placing it back in service.
Step 1: Connect as many tiles as is required to achieve the width of the installation.
A Directional arrow is printed on the back of each tile to indicate the direction of the fabric pile. For all tiles to match, the arrows on each tile should be installed in the same direction.
Step 2: Connect as many rows of tile as is necessary to achieve the length of the installation.
Step 3: If installation requires borders, then connect four corner borders to the installation and as many side borders as necessary to complete the installation. If heavy traffic is anticipated across a border, we recommend gluing borders in place with a solvent free adhesive like S1500.
Note: Tiles can be installed wall to wall. Find the center point of the installation and connect tiles together in all directions toward the walls. Tiles should be cut to fit against each wall.